Preventive liquid quantity tubeless : Accurate calculator & guide (VTT, engravel, route)
The switch to tubeless is probably the most effective technical improvement for a cyclist, whether on the road, engraved or mountain bike. No more pinches, better comfort, better rolling resistance. But one question always comes back in my workshop: « How much preventive fluid should I inject? »
It's a delicate balance. If you put too much, you unnecessarily weigh your wheels in the most critical place (the periphery). If you don't put enough on, the liquid will dry too fast and will not plug the hole on the day you roll on a thorn.
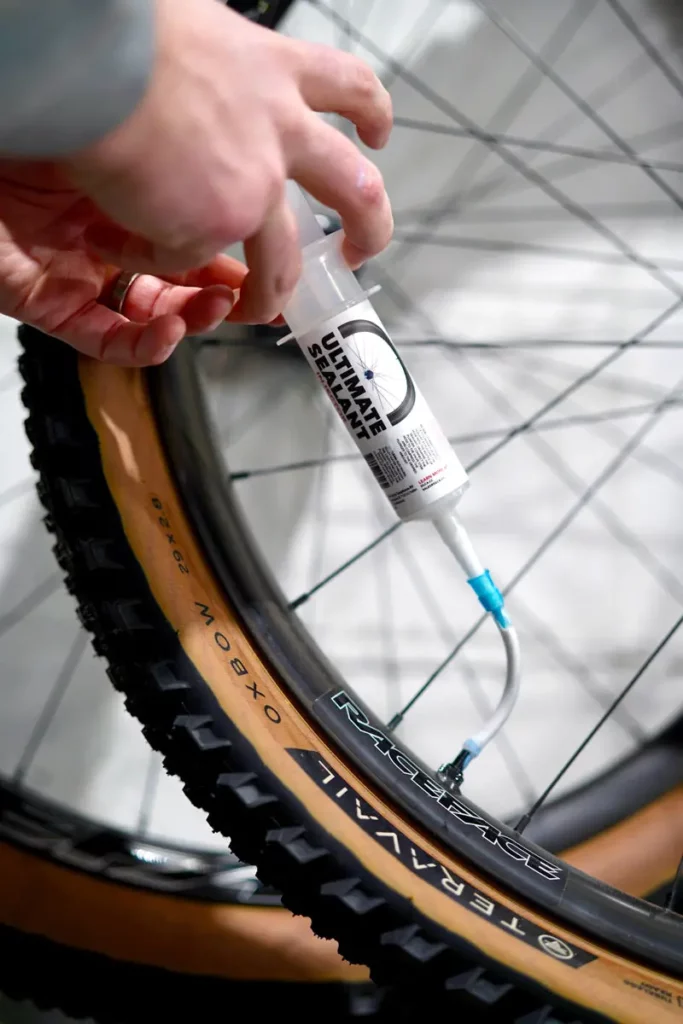
To end the dosages « random», I developed this free tool. It gives you the exact volume (in ml) recommended according to your discipline and the size of your tires.
Your tubeless dosing calculator
Select your bike type and tyre width to get the ideal recommendation. Don't forget to use the reminder button to schedule your next reload!
Calculator Volume Preventive
Why is accurate dosing vital for your wheels?
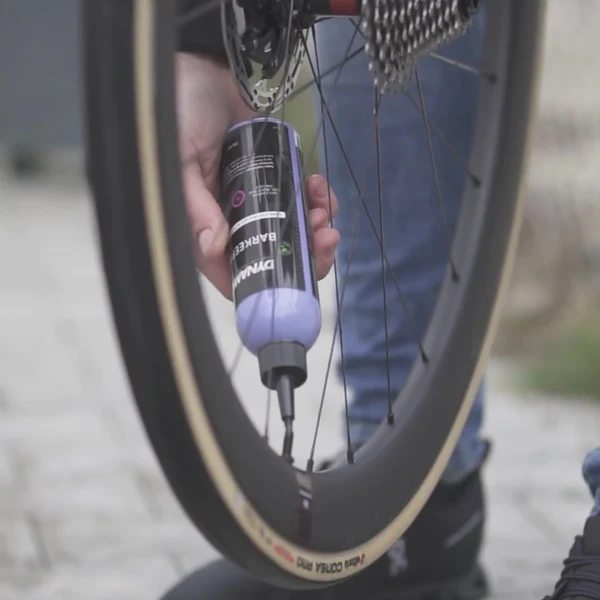
Many cyclists think that "the more there are, the better". It's a technical mistake. The preventive liquid (sealant) has two distinct missions:
- Seal carcass: Especially on the "Tubeless Ready" (not "pure tubeless"), the sides are porous. The liquid must fill these micropores.
- Seal the punctures: In case of perforation, the latex must be thrown into the hole by air pressure to clog and form a stopper.
The enemy is the rotating weight
Add 50ml of superfluous liquid per wheel, add 100g to the pair. But be careful: 100g on the wheels (rotating mass) require much more energy to restart than 100g on the frame. On a road bike or XC, overdose kills the dynamism of your carbon wheels.
Detailed guide by discipline
The needs are not the same if you drive at 7 bars on bitumen or 1.4 bars in mud. Here are the specifics to know.
Maintenance: when to put cash back?
This is the number one cause of tubeless disappointments: Dry liquid! Its life span is not infinite. It varies according to:
- Heat: In summer or stored in a hot garage, the liquid can dry in 2 months.
- Moisture: In winter, it can last 4 to 6 months.
- Use: The more you roll, the more the liquid is brewed and remains active. A bike that does not ride sees its liquid stagnating and coagulating at the bottom of the tire.
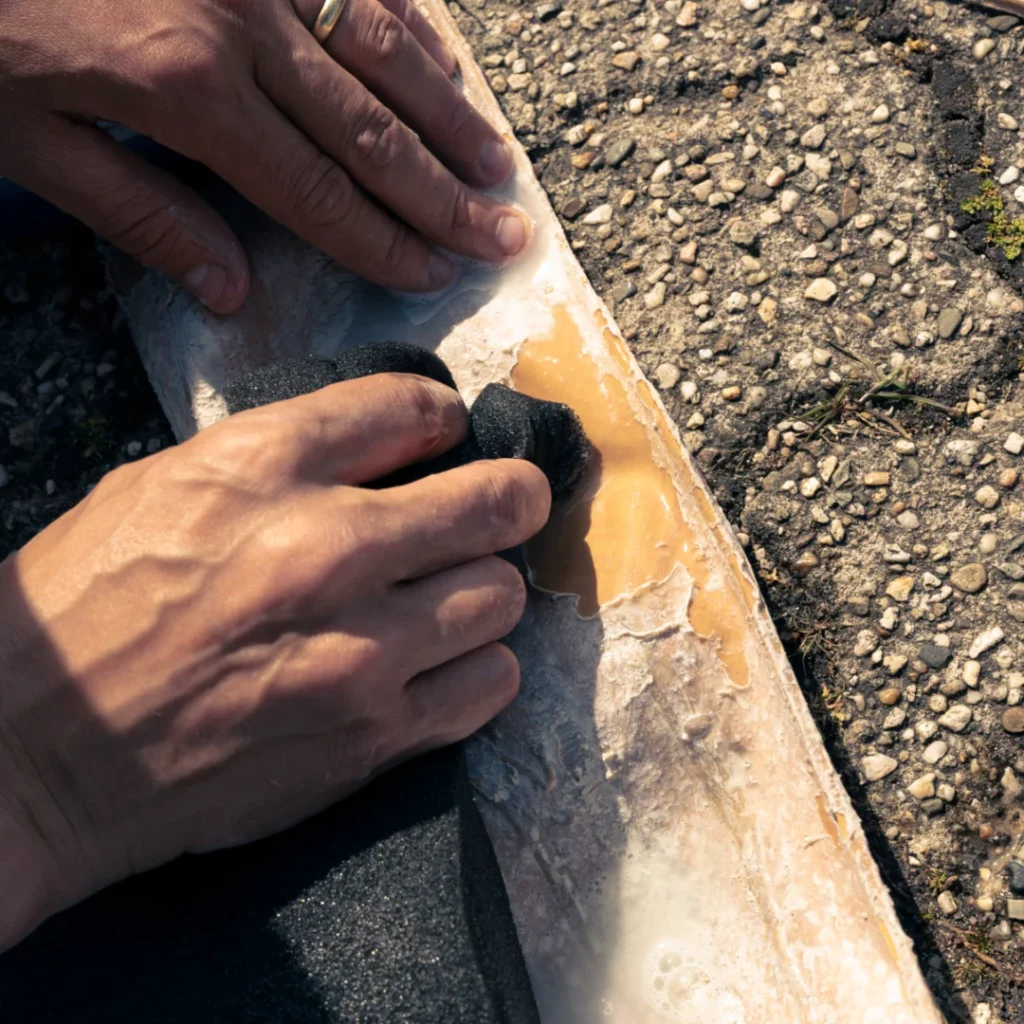 It's already too late!
Be careful with CO2 cartridges!
If you inflate with a CO2 cartridge after a puncture, know that the gas comes out at -50°C. This thermal shock freezes the latex and often solidifies it instantly ("cauliflower effect").
Tip: If you used CO2, drain and replace your liquid on your return home, as it is probably ineffective.
My recommendations produced
After years of testing dozens of cans in the workshop, these are the only 2 that I recommend with my eyes closed for their reliability.
Can we mix two precautionary marks?
No, never! Chemical bases (ammoniac, synthetic or natural latex) differ. The mixture often creates an immediate chemical reaction that turns your liquid into a solid rubber ball.
Do we need to clean the old liquid before we get it back?
Ideally, yes. If the old liquid is just a dry film on the tire, leave it (it ensures the seal). But if there's a puddle of old brown liquid left, suck it or sponge it. Do not add new on old outdated liquid.
Can we put some precaution in an air chamber?
Yes, it is possible if the air chamber has a removable valve shell. This works well for small thorns, but it is less efficient than a real tubeless assembly because the air chamber is more easily torn than a tire.
To go further
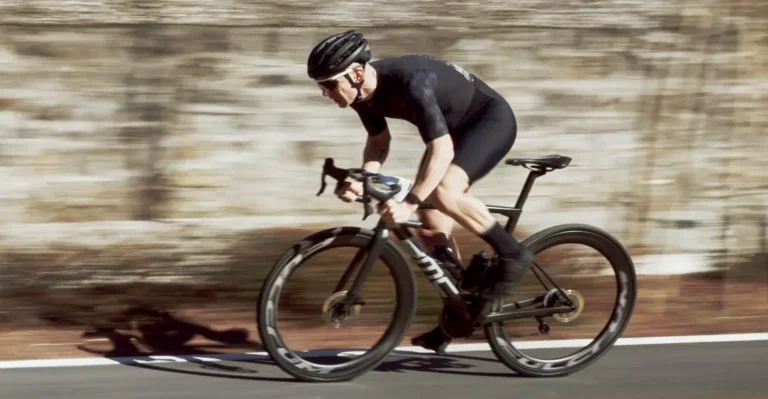
Now that your tires are protected and waterproof, it remains the most important parameter for your comfort and performance: inflation pressure. A tubeless tire well filled with liquid but poorly inflated will not offer its full capabilities.


Leave a comment